Ruger 10/22 Bolt Modifications
Bolt Modifications Overview
By doing the following modifications you will reduce friction between bolt and receiver as well as the bolt and hammer. By reducing this friction in your 1022's action, it will fire and run better as it cycles rounds.
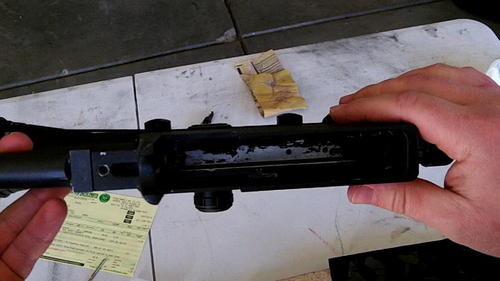
Removing the Powder Coating in the Receiver
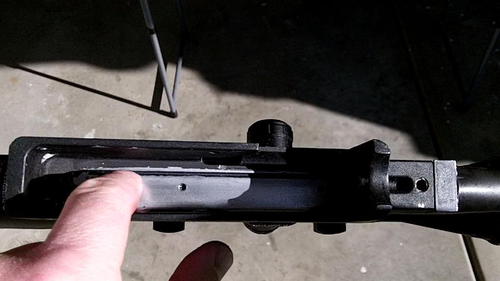
The picture below show what the top of the inside of the receiver looks like. You'll notice that some of the powder coating has been worn off. This is where the bolt rides along the top of the receiver.
I put a little Citristrip on the powder coating where the bolt rides to see if it would help loosen it up. I don't know if Citristrip has any effect on powder coating but I thought it was worth a try. I let it sit for about 30min and then took some steel wool to it.
The powder coating came out pretty easily.
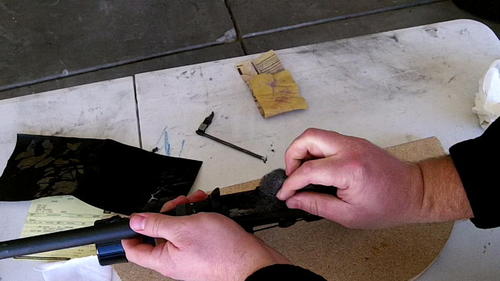
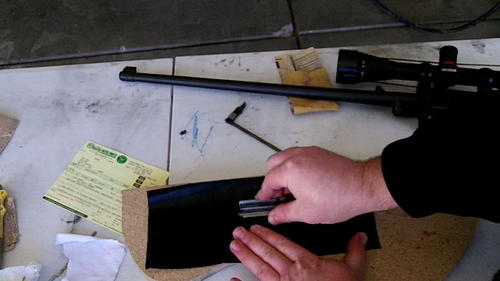
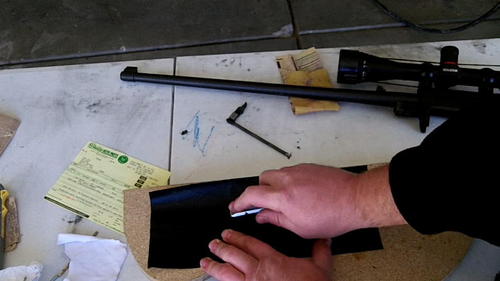
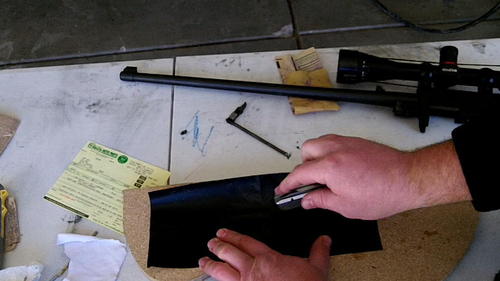
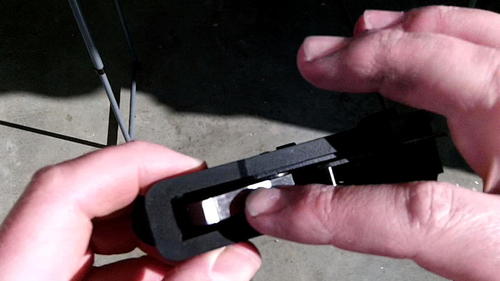
Leveling and Modifying the Bolt
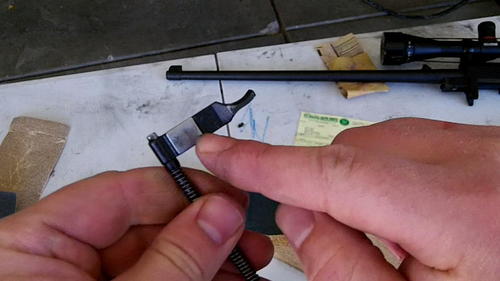
Below you can see me pointing to the bolt where it rides on the receiver.
I used 400 grit wet sandpaper to level the top of the bolt off. The sand paper is situated on a clean flat board. After the 400 grit I went to 1,000 grit but you could transition with 600 grit if you want too. Just make sure you're not taking too much off the bolt. We are trying to reduce friction but if we take off too much then we risk the bolt vibrating while cycling.
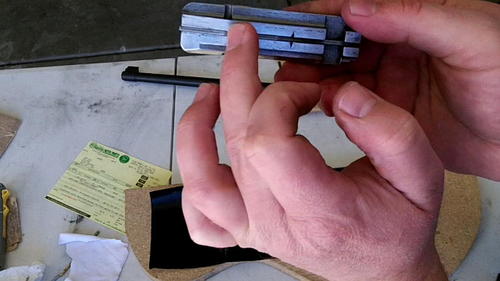
The point of the bolt I'm pointing to is where the hammer and bolt connect when the bolt cycles. I am going to increase the radius of this point to help soften the hit of the bolt hitting the hammer.
Again, I'm just using 400 grit sand paper and rolling the back of the bolt on the sandpaper. Remember I'm trying to maintain a nice radius on the back of the bolt while keeping it straight.
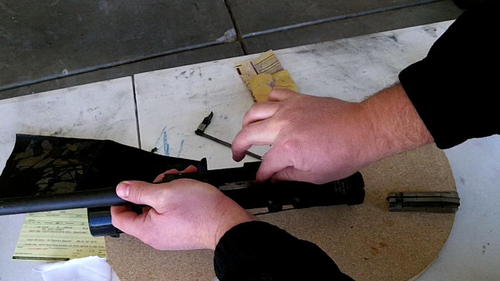
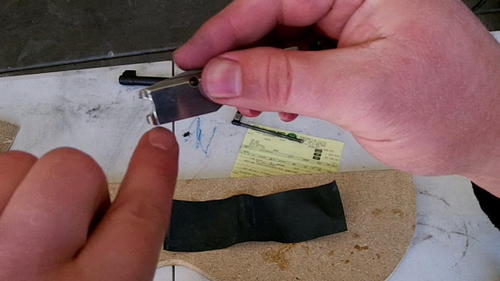
This part of the bolt handle is a pad that also rides on the top of the receiver. It too needs to be leveled.
Polishing Things Up
After using 400 and 1,000 grit sandpaper to level the above parts, I'm going to use a cotton rag and some polishing compound to give the parts just a little bit more shine.
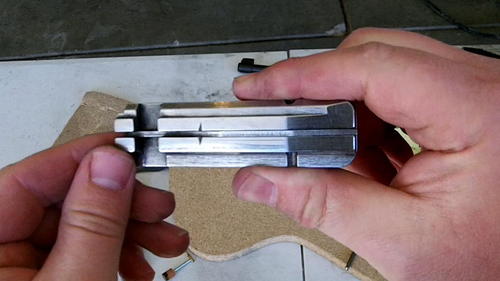
Here is what the top of the bolt looks like after being leveled and polished. It is important to note that it is not a mirror finish and that there are still some pits that remain on these parts after polishing. Some guys will take the pits all the way out but I'm afraid that you'll remove too much of the bolt if you attempt this. I personally think it is a better idea to level and polish with taking off very little.
Here is a look at the receiver after polishing with steel wool and polishing compound, and cotton rag and polishing compound. You can see that my finger has a slight reflection where I've polished but it is not a mirror finish. Again, I've already removed the powder coating and don't want to take much more out, so I'm just polishing this so it is a bit smoother for the bolt to ride on.
It is also a good idea to level and polish down the face of the hammer. I already took care of the hammer while doing the trigger job so it's good to go.
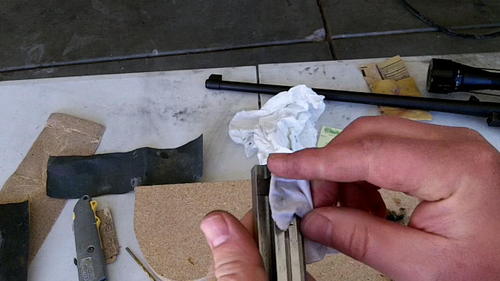
Lastly I'm going to take the firing pin out of the bolt and clean everything up with some gun gleaner and lube. Reassemble and you are done- That's really all there is to it. Pretty easy job, and it will help you eliminate misfires, improve cycling, and increase accuracy.
Let me know if you have any comments or questions.