Carbon Bike Repair / Carbon Frame Repair
Guide for Carbon Fiber Bike Repairs
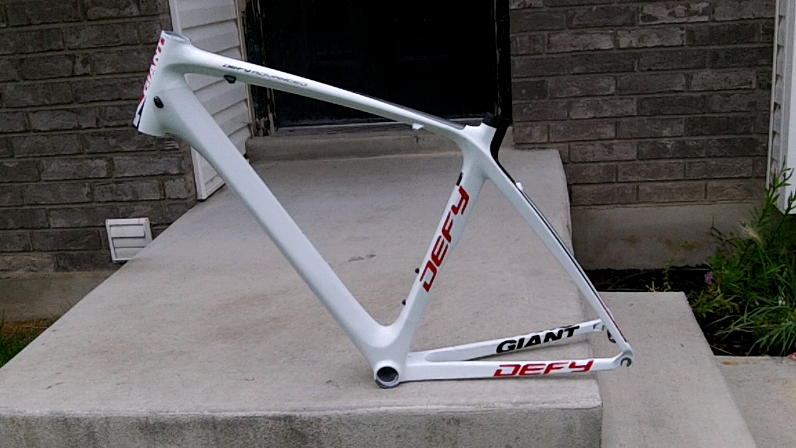
My friend's sister-in-law ran his brother's brand-new, week-old Giant Defy Advanced into the top of the garage while it was mounted on the cars roof-rack. She had forgotten about it and the rest is history. This unfortunate event is nothing new- I've seen the same thing happen tons of times on one of my favorite sites Busted Carbon.
Anyway, my friend wanted to know if I could fix this nasty crack in the down tube so I told him to bring it over. I was actually expecting a lot worst than what he showed up with; but luckily the frame slid back on the rack and the rack's holding arm swung down and hit the down tube cracking it. If the bike had not slid back on the rack it would have been a lot worst.
I did a thorough inspection of the frame and told him I felt confident that I could fix this break. However, here's the escape clause- I could not guaranty the frame would be safe after the repair and would make no warranty against frame breaks, bodily harm, or even death. I would only fix the area I thought was damaged and would fix it as best I could within reason.
Note: Professional frame repairers use endoscope cameras, and thermal imaging devices to see cracks hiding within the carbon fiber frame. I don't have any tools like that so I resorted to the old eyeball, squeeze, and tap tests.
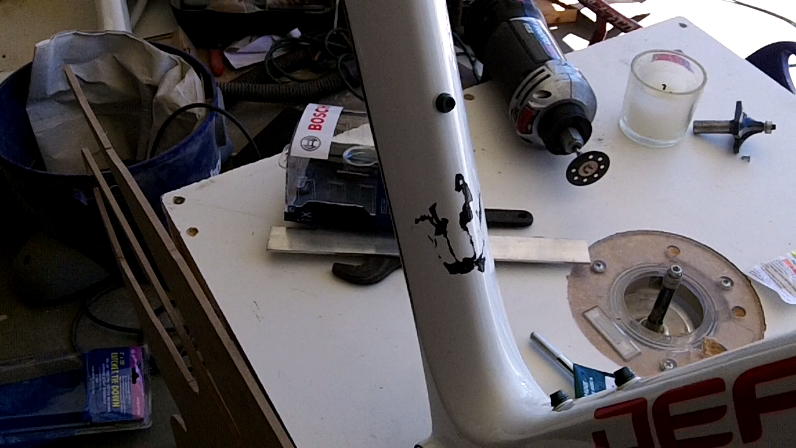
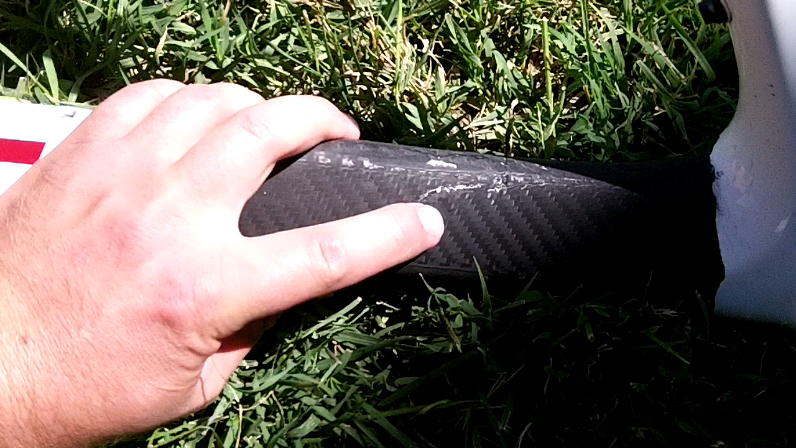
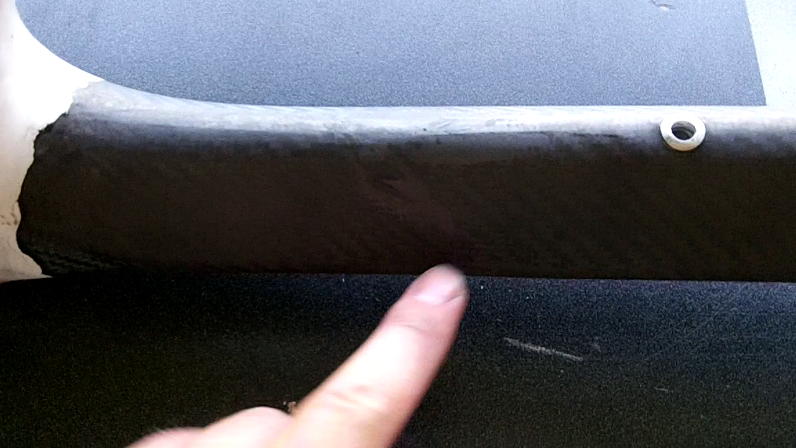
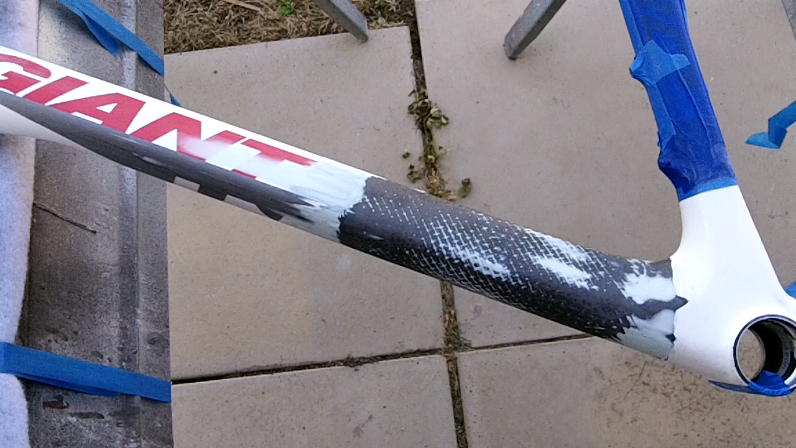
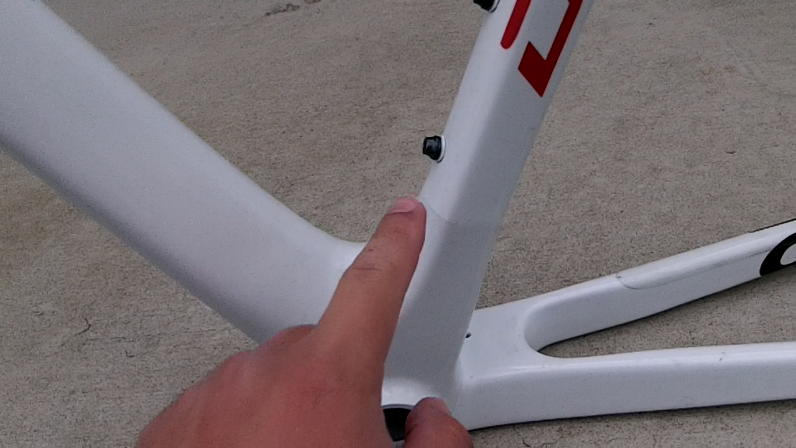
Here is a photo of the tube before the fix.
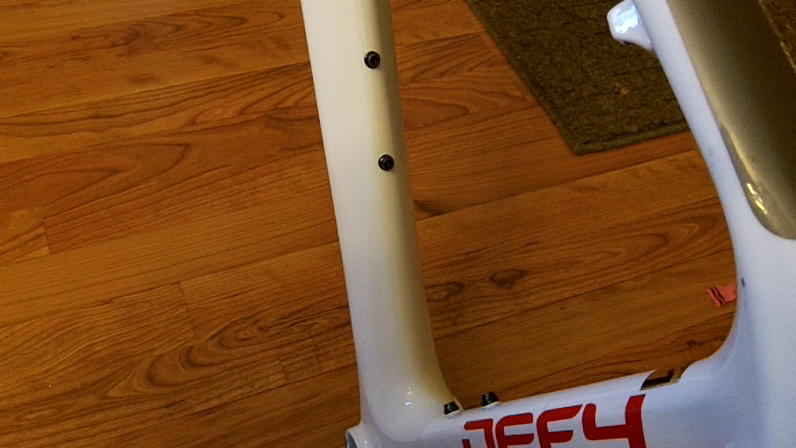
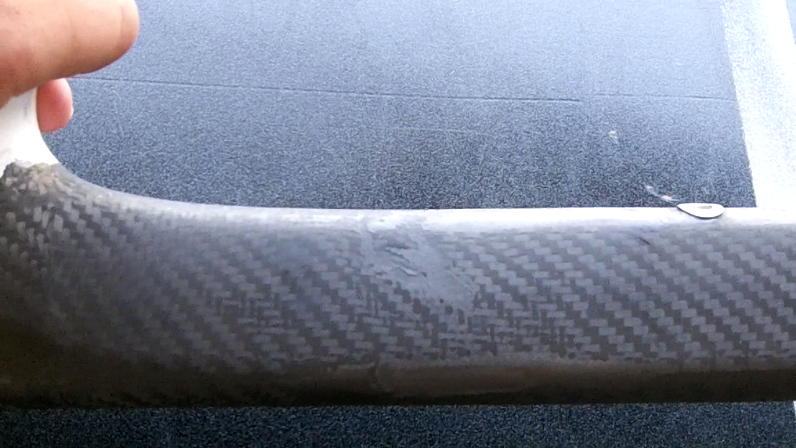
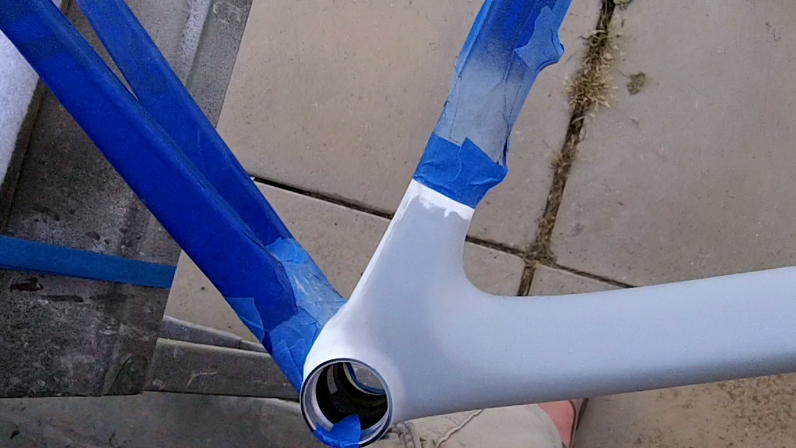
Here's what it looked like after the fix. Besides a little new paint discoloration / matching issue, the repair looks great.
Inspect the Frame to Isolate all repairs
the best way to inspect the frame in my opinion is to us thermal imaging. Basically you run an electrical current through the frame and since carbon fiber is conductive it heats up where there is a crack- it has something to do with resistance. You then use a thermal imaging camera to see where the frame heats up. If it heat spots indicate cracks in the carbon fiber. The next best way to inspect is to use an endoscope that goes down into the frame to show you if there is any visible cracking from inside the frame. The last best way is to use your eyes and hands to see if there is any visible cracking or soft areas anywhere on the frame.
Once your cracks and soft areas are found remover the paint to visually inspect the problem. If you can try using Acetone or similar to remove the paint- it is better than sanding if you can. If not then go ahead and sand the paint off.
Here I used 100 grit sand paper to remove the paint. You can see that there is a nasty crack in the center of where I sanded.
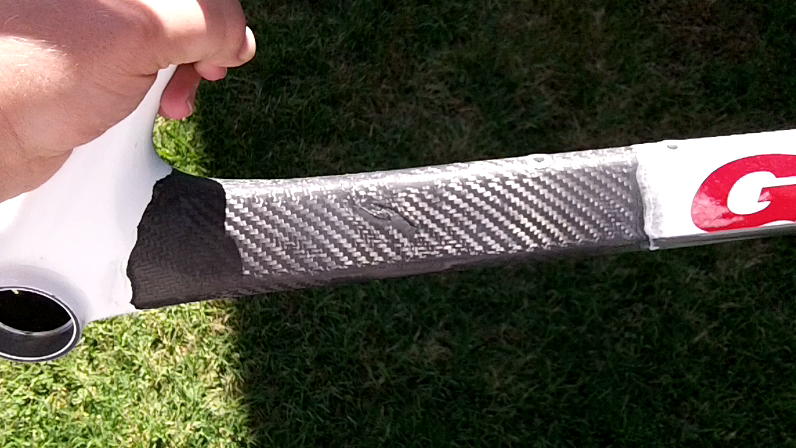
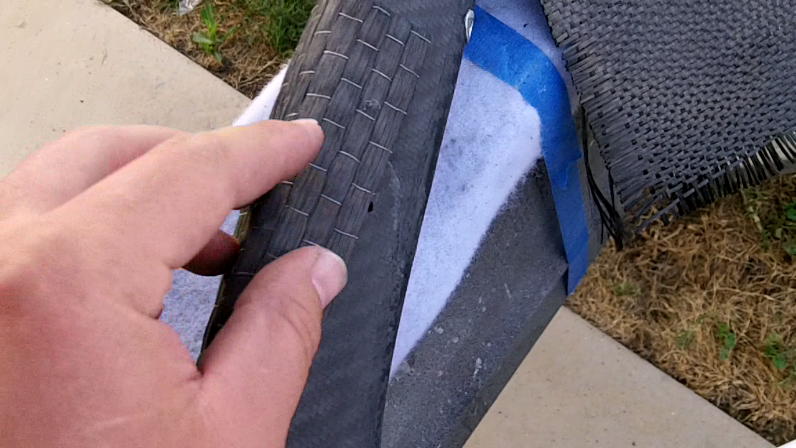
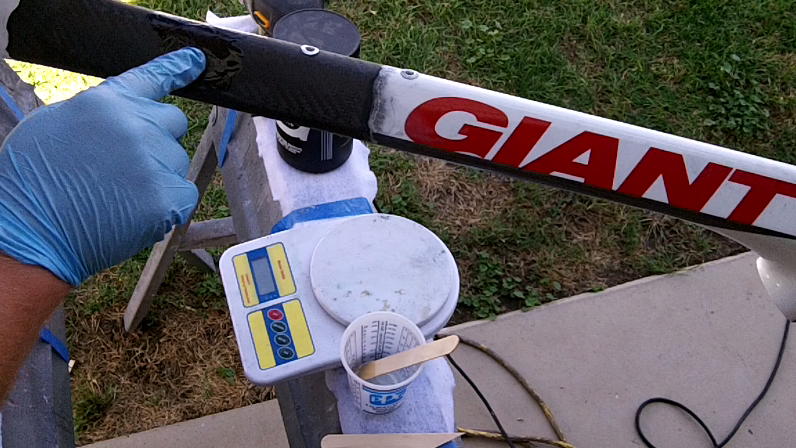
Be careful not to sand too much. I over sanded just past the first layer of carbon fiber- which is the 2x2 twill that you see. The Frame is mostly made up of unidirectional carbon fiber, which is the non-woven carbon fiber you can see me pointing to in the picture below. This area will get wrapped so it wasn't that big of a deal that I over sanded.

Here is another crack on the other side of the down tube.
Determine How to Fix the Frame
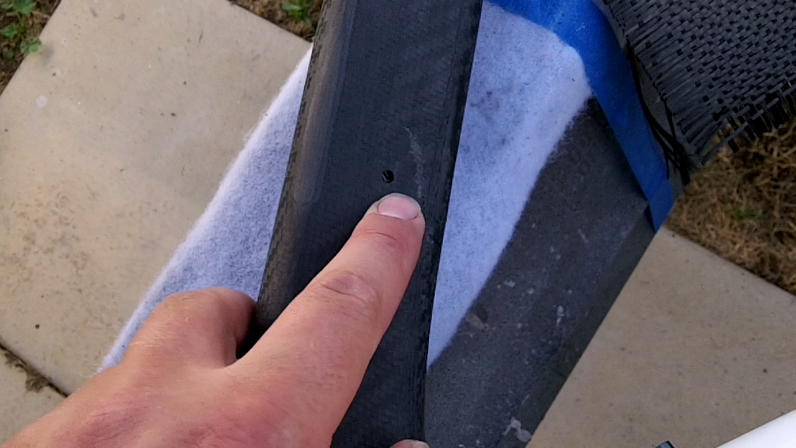
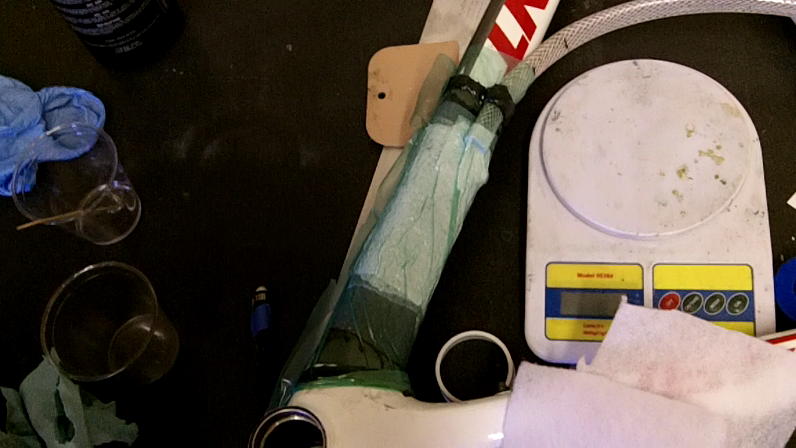
Next I had to figure out how much carbon fiber I needed to add in order to make this tube strong enough to ride. I drilled a hole right next to one of the cracks to determine how thick the downtube's wall was. Note: your wall thickness my vary at various places on the down tube- so drill a hole at each crack sight to make sure you're getting it right. This area of the down tube looked like it was about .75mm or 1/32" thick. I decided that I would add at least 1.5 to 2 times that amount of carbon fiber.
Here is a look at what I will be using to do the fix. The carbon fiber in the picture below is 80K standard modulus uni carbon fiber. I can't remember the weight but it's about 1/32" thick. The fibers will be oriented so they run lengthwise on the tube.
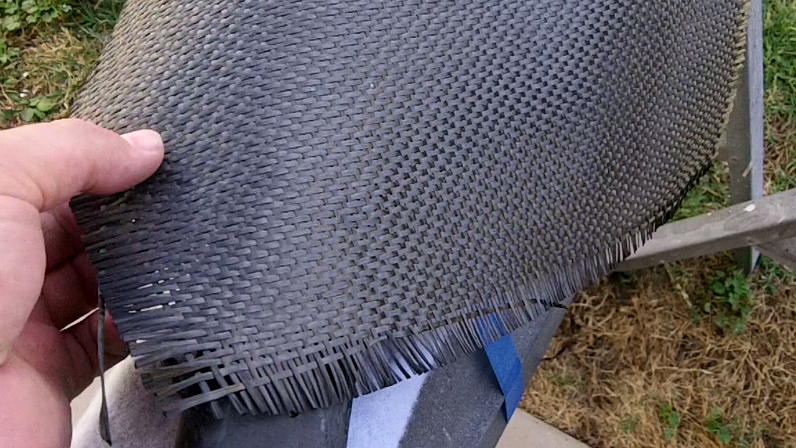
The following is standard modulus AS4 6K 4 harness satin weave. It is 11 oz. I oriented the fiber bundles at 45 deg to the length of the tube. This outer cloth will basically keep the uni directional carbon fiber from splintering or splaying out when it comes under stress.
*Important Note on Epoxy HDT*
Something to consider when choosing an epoxy is the Heat Deformation Temperature (HDT). Epoxy HDT is how hot the cured epoxy can get before it starts having a "softening effect" or looses it's stiffness. Most bike manufacturers use epoxies with a higher HDT then the stuff commonly used by use more common folk. If you are planning on painting your repair black, another dark color, or leaving it nude you may want to consider an epoxy with a higher HDT.
On this repair I used Resin Research 2100 epoxy with fast hardener- It's physical properties are very similar to West Systems 105 resin system- however, Resin Research is a bit thicker in viscosity. West Systems and Resin Research both have HDT's in the 125 to 140 deg F range. This temperature can easily be reached by leaving your frame in the hot sun or in a hot vehicle.
On this repair I am using a white paint over the repair wich helps keep the repair from reaching higher tempatures.
Filling and Sealing the Crack.
I am using a vacuum bag on this repair so I need to eliminate air coming in from the tube and up through the crack during suction. The filler will eliminate the vacuum bag from leaking through the tube. It will also create a flush and uniform repair area to wrap the tube.
After mixing the epoxy I just used my glove to wipe, or push some of the epoxy into the delaminated cracked carbon fiber. I then wiped off the excess epoxy in preparation for the filler.
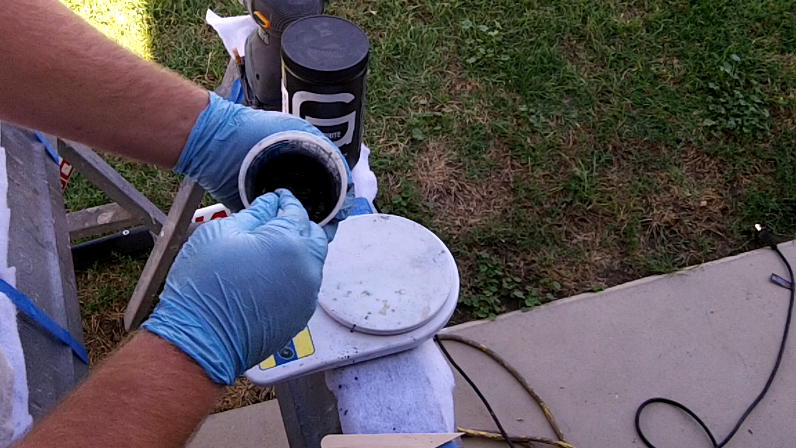
To make the filler I mixed graphite powder in with the epoxy. The graphite powder is the same stuff they use on pinewood derby car axles and kayak boat bottoms. I mixed it until it was the consistency of a thick frosting.
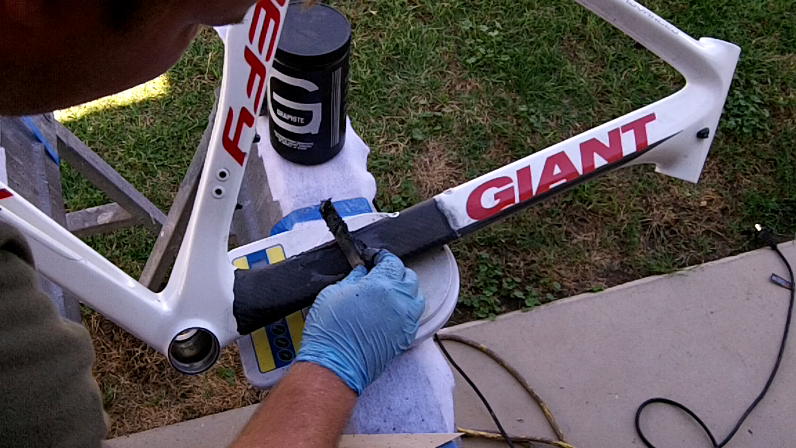
I just used the mixing stick to spread the filler around on the tube. I filled the hole that I drilled and also pushed some of the filler into the cracks. I put it on thick so I didn't have to add another layer later after sanding.
I let the filler cure for a couple of hours in the sun. Heat helps to accelerate the curing process.
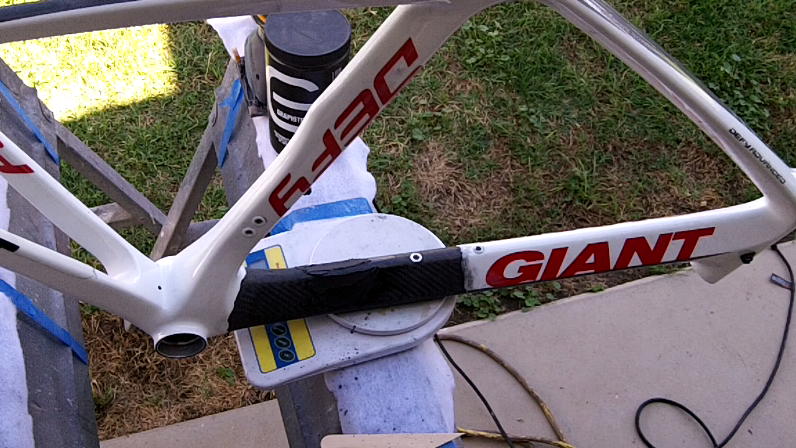
After a quick sand the crack is filled and ready for the wrap.
Note: that the filler alone is not structurally sound. I've heard of some people using just filler on tubes to make bike repairs- Which is fine if you have a deathwish. The tube still needs to be wrapped in order for it to be strong enough to ride.
Here is another look at the sanded filler.
Preparing the Carbon Fiber Layup
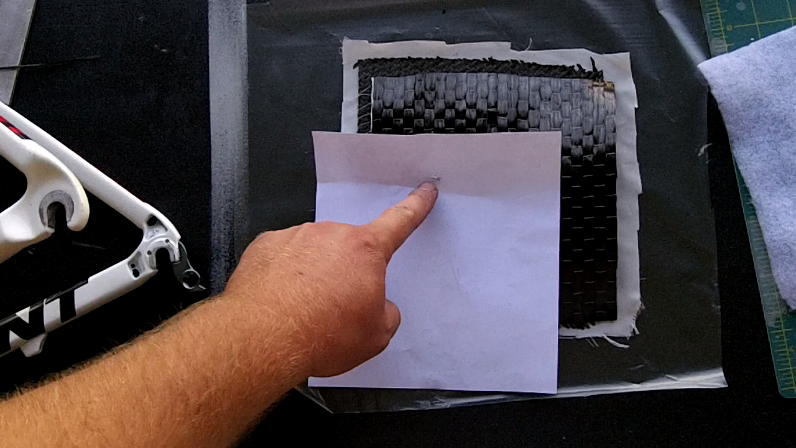
I like to prepare all of my materials before doing the actual layup. You can see here that I've got a piece of paper with a hole in it. The paper is a template for cutting out the carbon fiber cloth used in the wrap. The hole that I am pointing at in the picture below is where the bottle cage's bolt will come up through the wrap.
I am going to make a prepreg for the layup because I think they are easier to work with and use less epoxy. Here I have a sheet of plastic, peelply, and my bid and uni carbon fiber cloth ready to go. Remember to stack your cloth accordingly so that the uni cloth goes against the frame followed by the bid, peelply, and plastic. Once the prepreg is laid up on the frame, the plastic will be removed and a breather and vacuum bag will be added. Here's another look at the layup schedule from outside in.
Vacuum bag- Butyl Tape- Breather- PeelPly- Bidirectional cloth- Unidirectional cloth- Frame/tube
Here's another look at the precut cloth.

Doing the Layup
If you don't have a vacuum system you can still manage this repair. It is accomplished by using a tape wrap instead of a vacuum system for the carbon fiber compaction. Here is an article to a repair that I did which uses the tape wrap technique.Carbon Fiber Bike Repair 2- Tape Wrap Alternative.
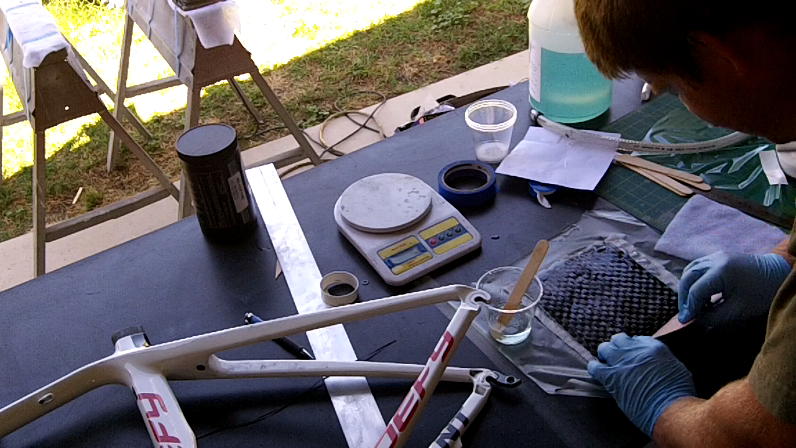
Here you can see me wetting out the carbon fiber with epoxy.
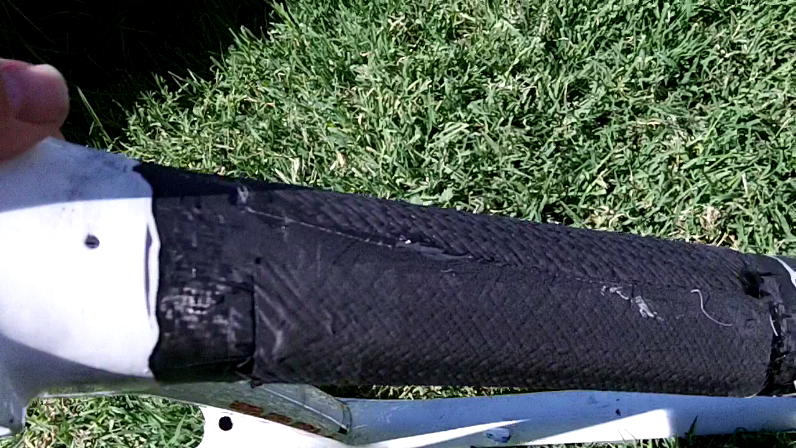
Here is a look at the wrap after having the plastic removed and having the breather and vacuum bag added. The vacuum bag sealant I am using is just black butyl tape for vacuum bagging. Note: the vacuum line extending out of the vacuum bag.
Be careful not to get wrinkles in your wrap. You can see some wrinkling in the picture below, but that is just the breather wrinkling, not the carbon fiber. I've made the mistake of thinking it was just the breather wrinkling in the past and ended up having to do another layup to correct the problem. Take some time here to get everything nice and straight.
Removing the Vacuum-Bag from the Frame
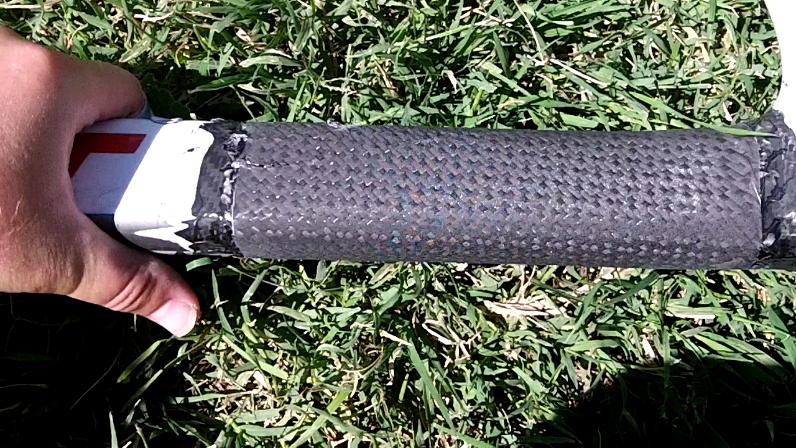
The vacuum bag, peelply and butyl tape are removed and the frame now has a nice solid splint / wrap on its down tube.
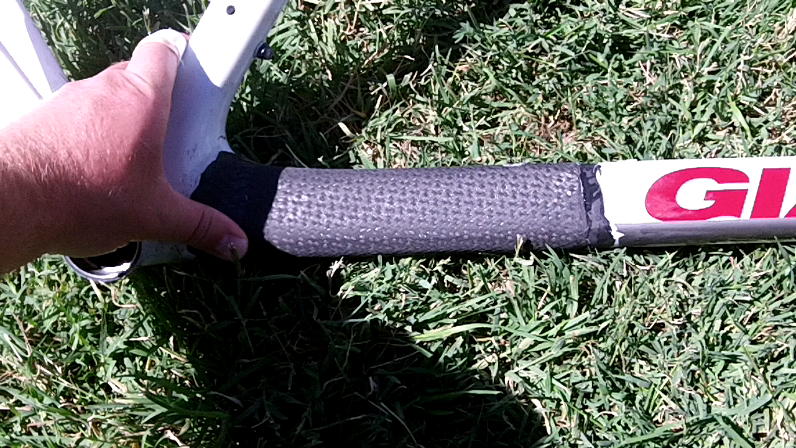
Here is a look at the bottom of the down tube where the carbon fiber overlaps itself.
Notice how there are really no wrinkles in the layup. Actually there were 2 very small wrinkles which could be sanded out without compromising the integrity of the splint.
Filling the Repair Before Painting.
I find it essential to fill the carbon fiber wrap before sanding. This way you can sand the wrap smooth without removing too much carbon fiber structure from it.
You can see how the texture from the weave is filled in between the tow weaves. I used Split Second filler on this part of the repair- but Bondo is probably ok too.
Before filling the carbon fiber all the way I like to spray a coat of primer. This helps to seal some of the pinholes and allows me to see what needs additional filling. After the initial priming I like to use Professional Glazing putty to finish filling.
Painting the Bike Frame
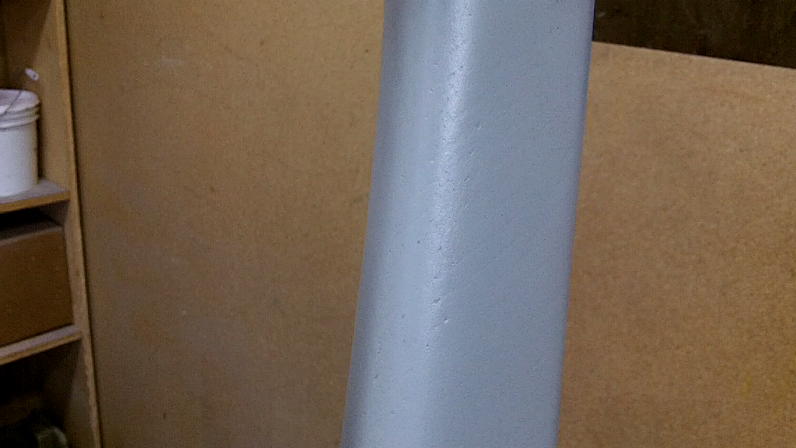
You can see here that I left a gap between the primer and masking tape so I could feather the primer transition (by sanding) into the original paint.
Here is a look at the feather transition before the base cote of paint.
Painting the Repaired Frame
Since Giant doesn't give out their color codes, I couldn't get a decent can of auto paint without paying a fortune. To have the paint store mix up a matching paint the matching process was $30 and the can of paint was another $30 not including the clearcoat. The cost to benefit of good paint was such that I just went to the automotive supply store and bought a can of close matching touch-up paint and some clear. It was about $15 instead of $60+.
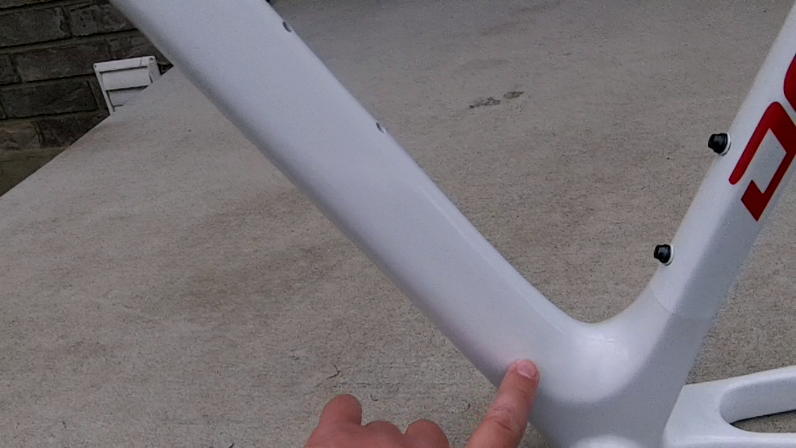
Here is what the frame looks like after the paint job. The wrap filled in nice and is pretty much unnoticeable.
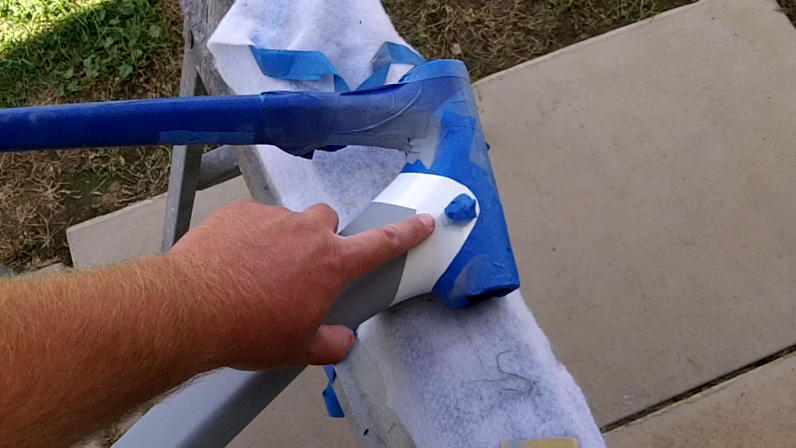
The only problem with the repair is the discoloration of new vs old paint. Here is a shot of the transition on the seat tube.
Here is a look at the transition on the head tube. I new that the paint was going to be slightly different so I tried to make clean lines with the masking tape.

Here is a look at the bottom of the down tube.

Final Thoughts
If I did this repair again. I would have masked off the bike prior to working on the repair as opposed to masking it off just before painting.
The repair added about 1/10th of a pound or 45 grams to the frame. I'd say that isn't too bad.
As far as this frame being safe I would say the following- "I am 99.9% sure that this frame is as strong if not stronger than the original factory frame." "I would personally ride this frame without fear of failure."
If you'd like to see another frame repair that I've done, which shows a different type of splinting technique here is the link- Carbon Fiber Bike Repair 2- Tape Wrap Alternative.